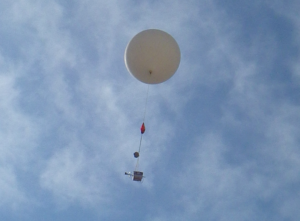
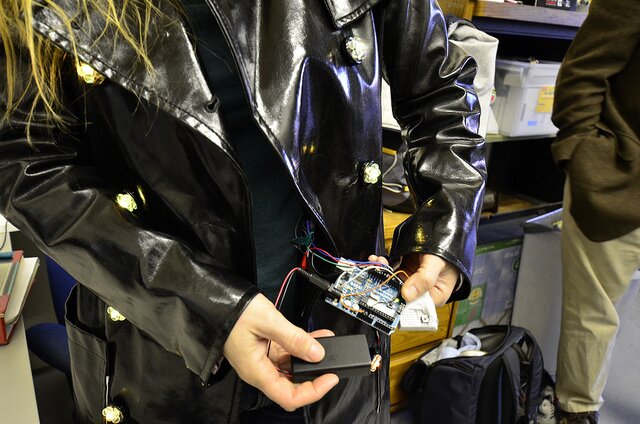
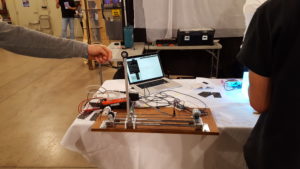
A handful and a half of our hackers collaborated over the past several weeks to design and launch a high altitude helium-filled balloon during the recent total solar eclipse on August 21, 2017.
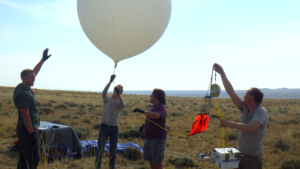
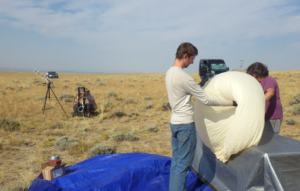
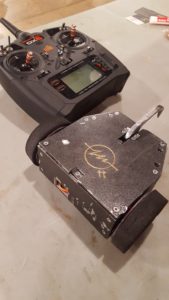
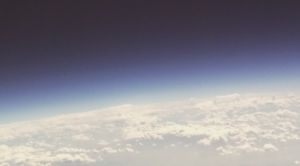
The balloon was kitted out with cameras, sensors and way-finding equipment. After being aloft for about 3.5 hours, the increasing altitude contributed to the balloon’s anticipated popping and rapid fall back to earth. It traveled around 100 miles, capturing video and photos before, during and after the eclipse.
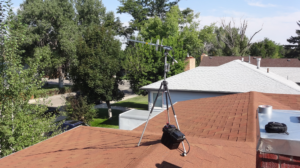
This project page from our Wiki, prepared pre-launch, contains a wealth of details about the endeavor, including specs of the equipment, testing needs, and compliance considerations leading up to the launch. Member Dan Julio also posted about the project on Hackaday.
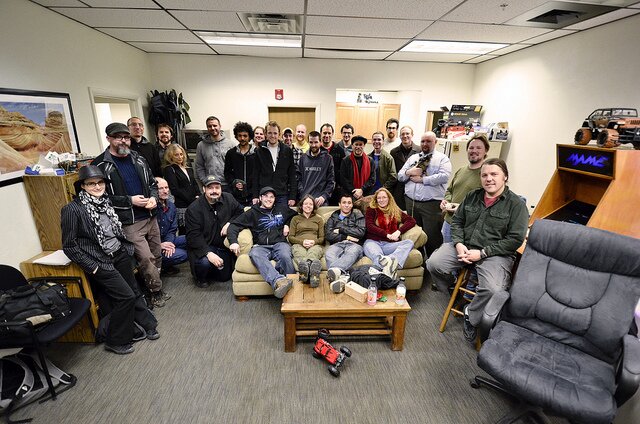
The balloon crew included SSD members Brandon Skari, Dan Julio, Tim Pegg, Andrew Bigoney, Specter, Rob Bryan, Sarah Gjestvang, along with additional crewmembers Kate, Bob, Tessa, Jason, and Sarah’s family.
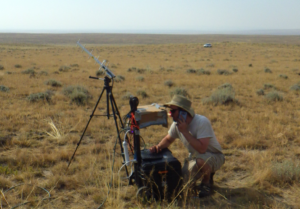
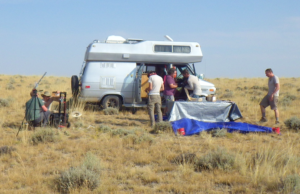
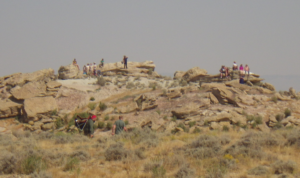
A remote launch site surrounded by land with considerable public access to make recovery easier was carefully researched prior to the launch, though modified after reviewing different wind forecasts. The crew gradually assembled starting Friday night through Sunday, traveling from Boulder to an area about 10 miles ESE of Shoshoni Wyoming. The group split into three teams: a launch team, a recovery team and a remote telemetry receiver in Casper.
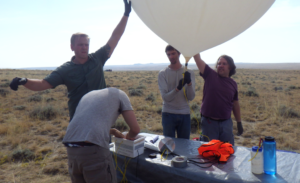
Most team members were on the launch team, who released the balloon at about 10:30 am. The initial climb rate of 2.5 m/s was a bit slower than expected and meant that the balloon was ultimately aloft for longer than initially anticipated.
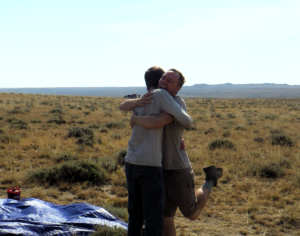
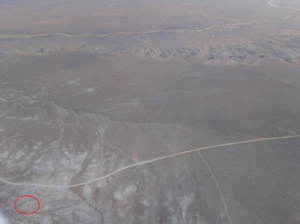
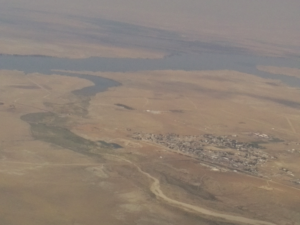
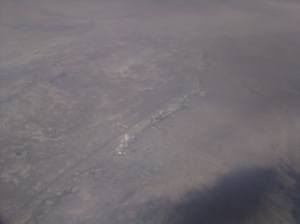
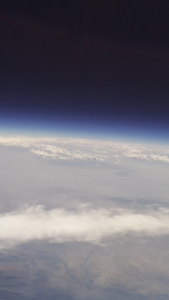
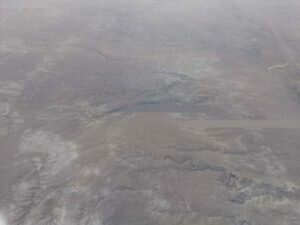
The balloon traveled almost due east, eventually succumbing to the effects of partial vacuum about 20 miles north of Casper after reaching a maximum altitude of over 90,000 feet! At that point the balloon burst, and it and its payload quickly fell to earth. The recovery team, consisting of Kate, Bob, Sarah and her family, found out that the payload had landed on a private ranch. The balloon was found in about 5 hours near the last LoRa telemetry message.
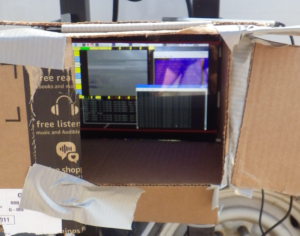
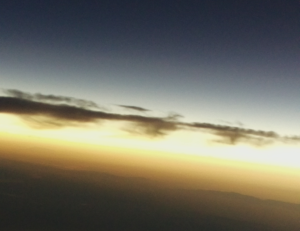
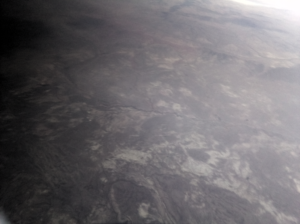
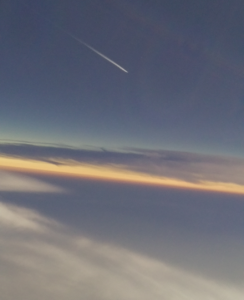
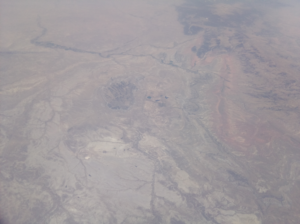
In 360-degree video footage captured aloft during the event, a noticeable shadow can be seen visibly encroaching from the west over the land below. A few minutes later, totality arrived at approximately 11:39 AM. The darkened sky showed stars and the solar corona. The balloon’s cameras continued filming along its eastward trek for almost another hour before the balloon burst.
This endeavor generated a lot of interest and activity at SSD, and many thanks for helping go to: Todd LaWall, Chrobi, John West, and John Maushammer!


 October 18th, 2017
  Jennifer Farmer
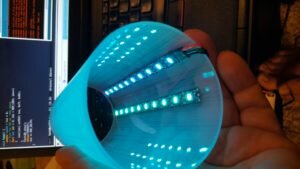
 d Combat Bot Division with weight classes from 1 to 30 lbs.


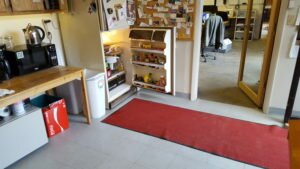
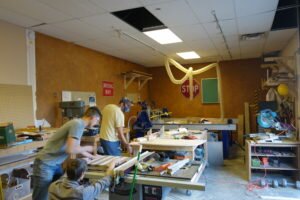
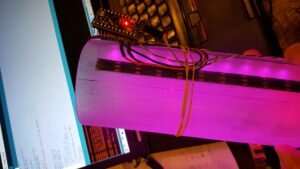
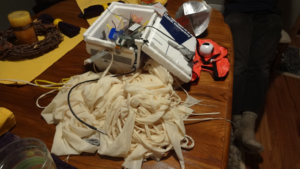
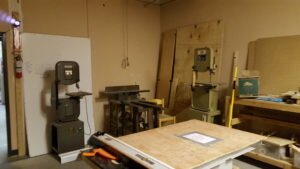 Meanwhile in the wood shop, Ted and friends removed excess scrap wood, did some general cleaning up, and rearranged the tools for better access.